A Step-by-step Guide on How to Mount Your Lomography Experimental Lens on Your Camera
3 Share TweetIf you are an owner of a micro 4/3 camera and you can’t wait to whip up fun and creative images with the Lomography Experimental Lens Kit, then you have come to the right place. This tutorial will enlighten you on how to attach and use the standard 24mm, wide-angle 12 mm, or the fisheye lens.

Step One
Remove the lens rear cap on the lens and the body.

Step Two
Match the locking mark of the lens.

Step Three
Turn the lens clockwise until it locks in place. It is now mounted and ready to shoot!

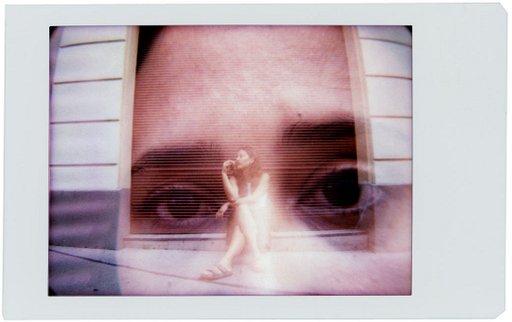
Satisfy your hunger for creative snap-shooting with the == Lomography Experimental Lens Kit.== This lens pack is compatible with all Micro 4/3 digital cameras and comes with three lenses: standard 24mm, wide-angle 12mm and fisheye. This super creative lens kit will let you take wide-angle, fisheye, and multiple exposure shots, delight in exciting photographic effects and tint your images with color filters. View the Experimental Lens Kit Site or get yours in the Online Shop now!
Read more on the Lomography Experimental Lens Kit:
Introducing the Lomography Experimental Lens Kit!
Lomography Experimental Lens Kit: First Impressions by Mathias Pesjak
The Lomography Experimental Lens Kit: Your Questions, Answered
written by jillytanrad on 2013-10-17 #gear #tutorials #tipster #lomography-experimental-lens-kit #micro-4-3


No Comments