Pinhole Rocket: Making a Film Box Panoramic Pinhole Camera

38

Updating my previous tipster, I’m going to show you how to turn an otherwise useless film box into a super wide panoramic camera! With exposed sprockets too?!! Go grab a film box now!!!

Me encantan los patos de plastico ;)

What you’ll need;

  • Any 35mm Lomography film box
  • A roll of 35mm film
  • An empty 35mm film canister with a small piece of film still attached (You can get these at any photo lab, just ask them, they throw them away so they’ll be more than happy to give them to you)
  • Aluminium foil (I cut mine from a soft drinks can)
  • Needle
  • Pen/pencil
  • Black marker
  • Ruler
  • Scissors/craft knife
  • Black tape
  • Regular tape
  • Black card
  • Paper clip
Magic camera box! – Image from Lomography.com

Begin by taking your empty box (I used the 800 ISO box as it was slightly bigger and sturdier) and cut open the bottom edge as shown

Now cut along the long folded edge

Open up and flatten the box

Draw an X to find centre and draw a small square in the panel shown. Cut out the square with a craft knife

Locate the lid flap and cut along the folded edge

You now want to fold back the loose piece of card at the top of the box and cut off the excess

Using a black marker, colour the inside of the box (this reduces internal reflections which will improve the quality of your images)

Making the pinhole
Cut out a small square from your aluminium foil, 2cm by 2cm will be enough, and carefully pierce the centre. Just push the tip through, but not the entire needle. The idea here is to get the smallest hole possible. ’The smaller the pinhole the sharper the picture quality’ apparently…

Take the piece of foil and align the pinhole to the square from your film box. Tape this in place with some black tape

Fold the box back to it’s original shape and tape the long back edge

Note – The tape and parts sticking out at the bottom is the shutter. I shot these illustrations out of sequence so ignore those parts for now

Loading the film
Take a fresh roll of film and cut off the header

Tape the tip of your fresh roll (left) to the film tip of the empty canister (right). Check that the film winds smoothly by turning the spool of the empty canister (right)

With the back of the box facing you, put both films in the box making sure the the fresh roll is on the left and the empty canister on the right

Now with the front of the box facing you, take hold of the canister (empty) and tape the lid shut

Check that the film can move freely through the gap. Open the lid and cut/adjust where necessary

Tape the film in place making sure the edge of the canister is flush with the gap of the box

Reach into the box and retrieve the loose film roll. Tape the lid shut and secure the canister as before

Again make sure the film moves freely through the gap. Trim the flap slightly if necessary

Making the shutter
Take a piece of black card and cut a rough piece to the size of 2cm x 8cm. Cut a small box, 0.5cm x 0.5cm, from the centre

Cut two new slots as shown, roughly 1/1.5cm each side of the square. These should be 1cm in height and roughly 1mm in width

Cut out another piece of card to the size of 8cm x 1cm

Carefully thread this new piece through the slots as shown

Pull this piece to the right aligning the left edges

With a pen, draw around the box

Take out this piece of card and cut out the marked box

Re-thread this card back and your shutter is complete! Test it by pulling it to the right (open state)

Tape this to the film box, aligning the hole of the shutter with the pinhole of the box/camera body

Test the shutter again to make sure everything is working correctly

Underneath the empty canister, tape a piece of paper/tissue to add tension to the winding mechanism. Adjust the tape by winding slowly and if the spool doesn’t spin back after winding, you’ve got it right

All that’s left to do is completely cover the box with black tape. Begin by taping up the edges, paying extra attention when taping around the film spools. The aim is to tape up the areas where the film is entering the box to avoid light leaks, but at the same time allowing the spools to spin freely

Box covered! Finish by adding a paper clip for a winder and your pinhole camera is complete!

To advance by one full frame, turn the paper clip counter clockwise by roughly two and half rotations

Shooting
Many people prefer to use pinhole calculators on the web to determine exposure times and I would recommend this too, but at the time of shooting my test rolls I just guessed and hoped for the best :)

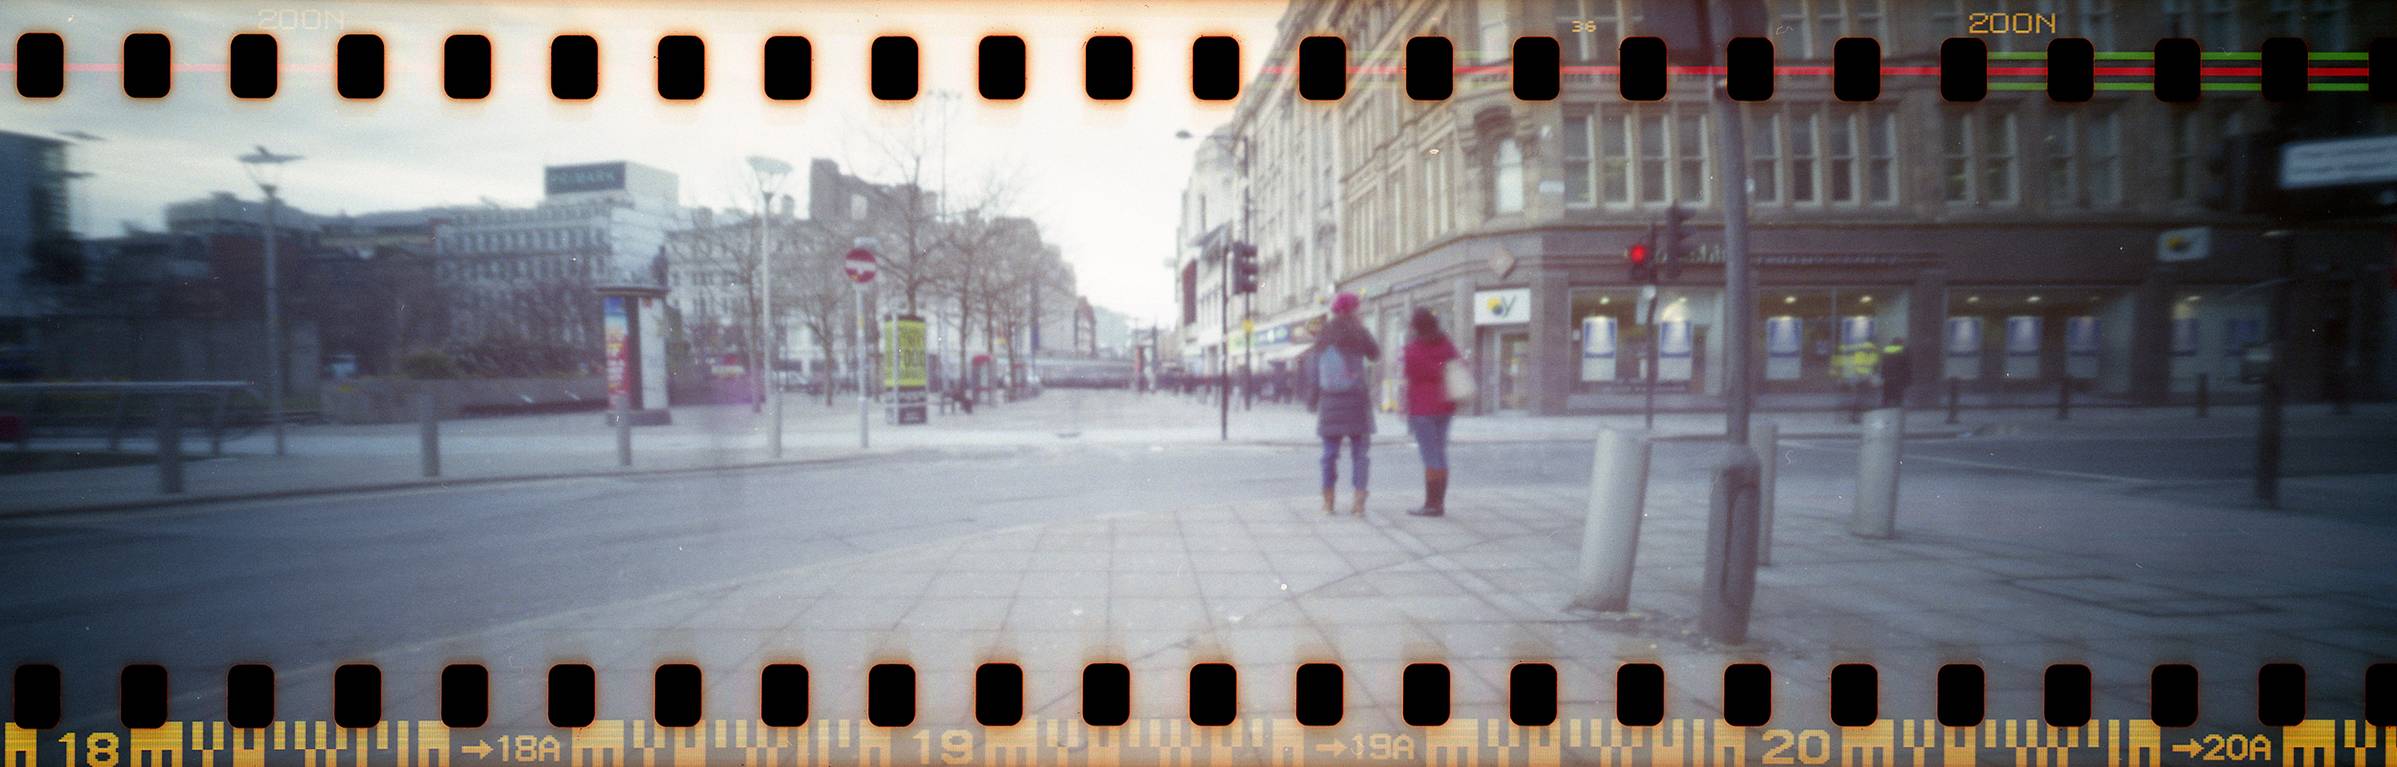
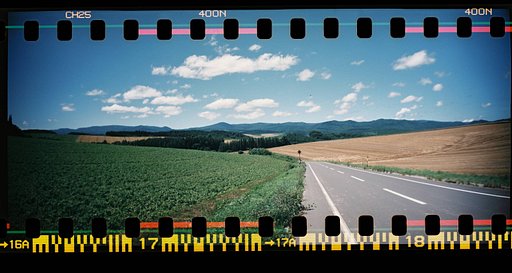
With my pinhole camera I used 200 ISO film and shot in daylight. The exposures varied from 1-20 seconds and sometimes even more

Credits: lostlittlekid

As you can tell by my results, the camera was even wider than I expected. It pretty much captured everything and anything I put in front of it!

Credits: lostlittlekid

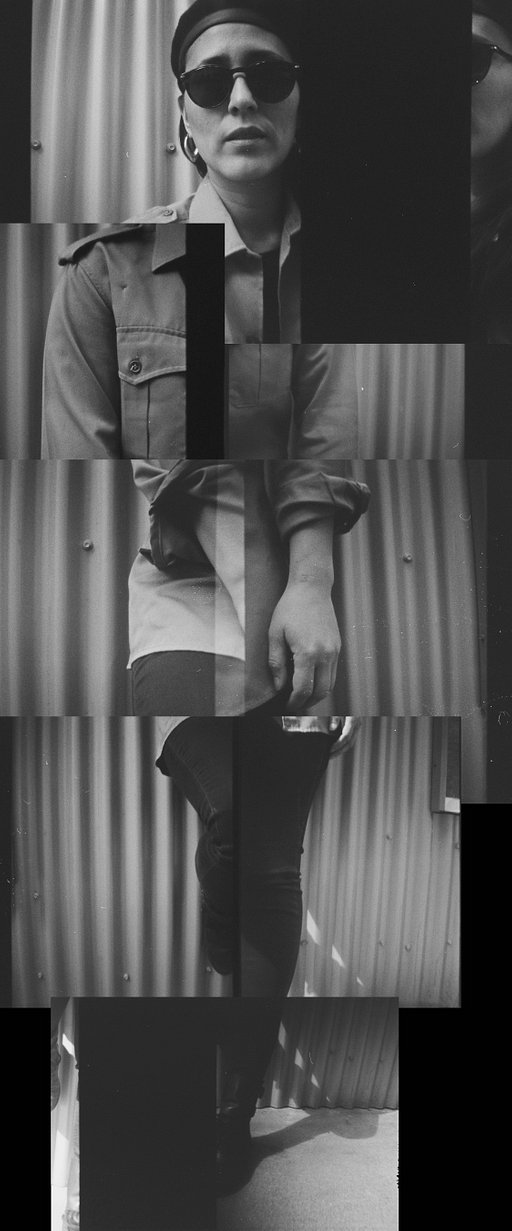
More of my results can be found here and here

Thanks for reading guy and girls. I hope you enjoyed my crazy ramblings, see you next time :)

written by lostlittlekid on 2013-01-31 #gear #tutorials #camera #tutorial #tipster #panoramic-pinhole-home-made-sprockets-film-box-camera

38 Comments

  1. clownshoes
    clownshoes ·

    Nice

  2. sixsixty
    sixsixty ·

    Amazing stuff!

  3. bibi912
    bibi912 ·

    love it :) will test it :)

  4. brommi
    brommi ·

    Yeah finalllyyyy *-* i am gonna try it soon!

  5. wafflesaurus
    wafflesaurus ·

    Who needs now expensive Panorama Cameras?! :D Like it! But exposure time is the trickiest i guess :/

  6. jawknee
    jawknee ·

    That's awesome!

  7. lostlittlekid
    lostlittlekid ·

    Wow! Thanks for the likes already guys!
    @neanderthalis, @emkei, @jawknee, @wafflesaurus, @brommi, @bibi912, @pvehk, @pauline_wildwind, @sixsixty, @clownshoes

    For those of you who are interested you can use pinhole calculators like this one to determine exposure times ;) www.pinhole.cz/en/pinholedesigner/

  8. noe_arteaga
    noe_arteaga ·

    WOW, looks soo cool!! I'll definitely be making some for Pinhole Month!!! They're great to give as gifts!!!

  9. jawknee
    jawknee ·

    No problem :) definitely a project I'll try out. Great idea. Those photos actually look awesome. Thank you for sharing!

  10. kylesherman
    kylesherman ·

    Awesome article man!

  11. adi_totp
    adi_totp ·

    you should make me one,Bob! hahahaha :D Great tipster!

  12. bebopbebop
    bebopbebop ·

    you should make your own brand! haha :D

  13. spidey27
    spidey27 ·

    wawww!! what a cool result!!

  14. ovonovo
    ovonovo ·

    very nice photos!

  15. lostlittlekid
  16. my_name_is_mishka
    my_name_is_mishka ·

    wow i thought you used a "regular" camera for those shots :) cool!

  17. lostlittlekid
    lostlittlekid ·

    @adi_totp I'd make and send you one bro but it'll most probably get crushed in the post :( It'd look kind of suspicious of me sending oddly shaped black packages too... customs will have a field day with me haha!

    @bebopbebop Why the hell not haha! What name should we use? ;)

    @my_name_is_mishka, @plainpaperplanes Thank you guys so much too :D

  18. bebopbebop
    bebopbebop ·

    hmm "lostlittlecam" ! hahaha :P

  19. kibs
    kibs ·

    Brilliant!

  20. meryl
    meryl ·

    Great !!

  21. electrozity8
    electrozity8 ·

    In theory, could you get an even larger negative by using something like a box from a 5 pack of Portra?

  22. co
    co ·

    Very cool! Thx!

  23. lostlittlekid
    lostlittlekid ·

    @electrozity8 I'm pretty sure it would work considering this camera is just like my last but with a larger/longer box. The field of view would be even bigger too :D

  24. lostlittlekid
  25. ponzi
    ponzi ·

    omg this is waaaaaaaay cool :)

  26. sobetion
    sobetion ·

    OMG!!!!!!! Thank for technique Bobbbbbbbb <3

  27. dida
    dida ·

    awesome! must try!

  28. sweetyyydreams
    sweetyyydreams ·

    This is so great!

  29. lostlittlekid
    lostlittlekid ·

    Thanks guys! I'm currently making some new designs as we speak so look out for those very soon :D @ponzi @sobetion @dida @sweetyyydreams

  30. ropi
    ropi ·

    ohh!!! I love this project!!! I'll be making my own very soon!!! you made it so simple!! thanks for sharing!! :)

  31. digitaljunk
    digitaljunk ·

    Great idea! Especially with making use of ‘waste’ materials we all have lying around; ingenious use of the second film cartridge to roll the exposed film back in.
    (I thought: “Ahhh, it’s all covered in black gaffer tape in the end”… perhaps you can try a 2nd version with the 2 rolls of films inside the box (so it looks like a normal lomo film box from the outside, more spy cam style) -- but you'd lose the nice panoramic framing.)

  32. lostlittlekid
    lostlittlekid ·

    I chose function over looks sadly haha To be honest no one took any notice of me when I did the street shots (I pretended I was waiting for someone) so it's a spy cam of sorts :) You could just try the smaller version I made last time if you want to be more discrete, just check my articles if you haven't already :D Thanks for liking @digitaljunk and thank you too :) @ropi

  33. stratski
    stratski ·

    Oh, TWO and a half turns to advance... I misread and only did one and a half turn... No wonder most of my pictures were short and had big overexposed spacings :-P I'll try again soon, because it did produce some of the sharpest pinhole images I ever made, so great tipster!

  34. lostlittlekid
    lostlittlekid ·

    Thank you so much! I'd love to see your results, so do share when you have them :D @

  35. lostlittlekid
    lostlittlekid ·

    @stratski

  36. gatokinetik-o
    gatokinetik-o ·

    wow! i've recently did a pair of pinhole cameras, but definitively, i got to try this!!!! thanks for sharing!

  37. sophie87
    sophie87 ·

    I took an experimental photography course like 4 years ago and we did a pinhole camera out of a matchbox, I took several photos, but then I forgot about it, I found it like a month ago, and now I can't remember how you turn the film to take more photographs! :(

  38. alexkon
    alexkon ·

    Отлично!

More Interesting Articles