Long Exposures and Lomography: Shooting Light Trails in Hong Kong
9 43 Share TweetUse your Holga or Diana F to shoot light trails; Learning the ins and outs of long exposure photography in Hong Kong.

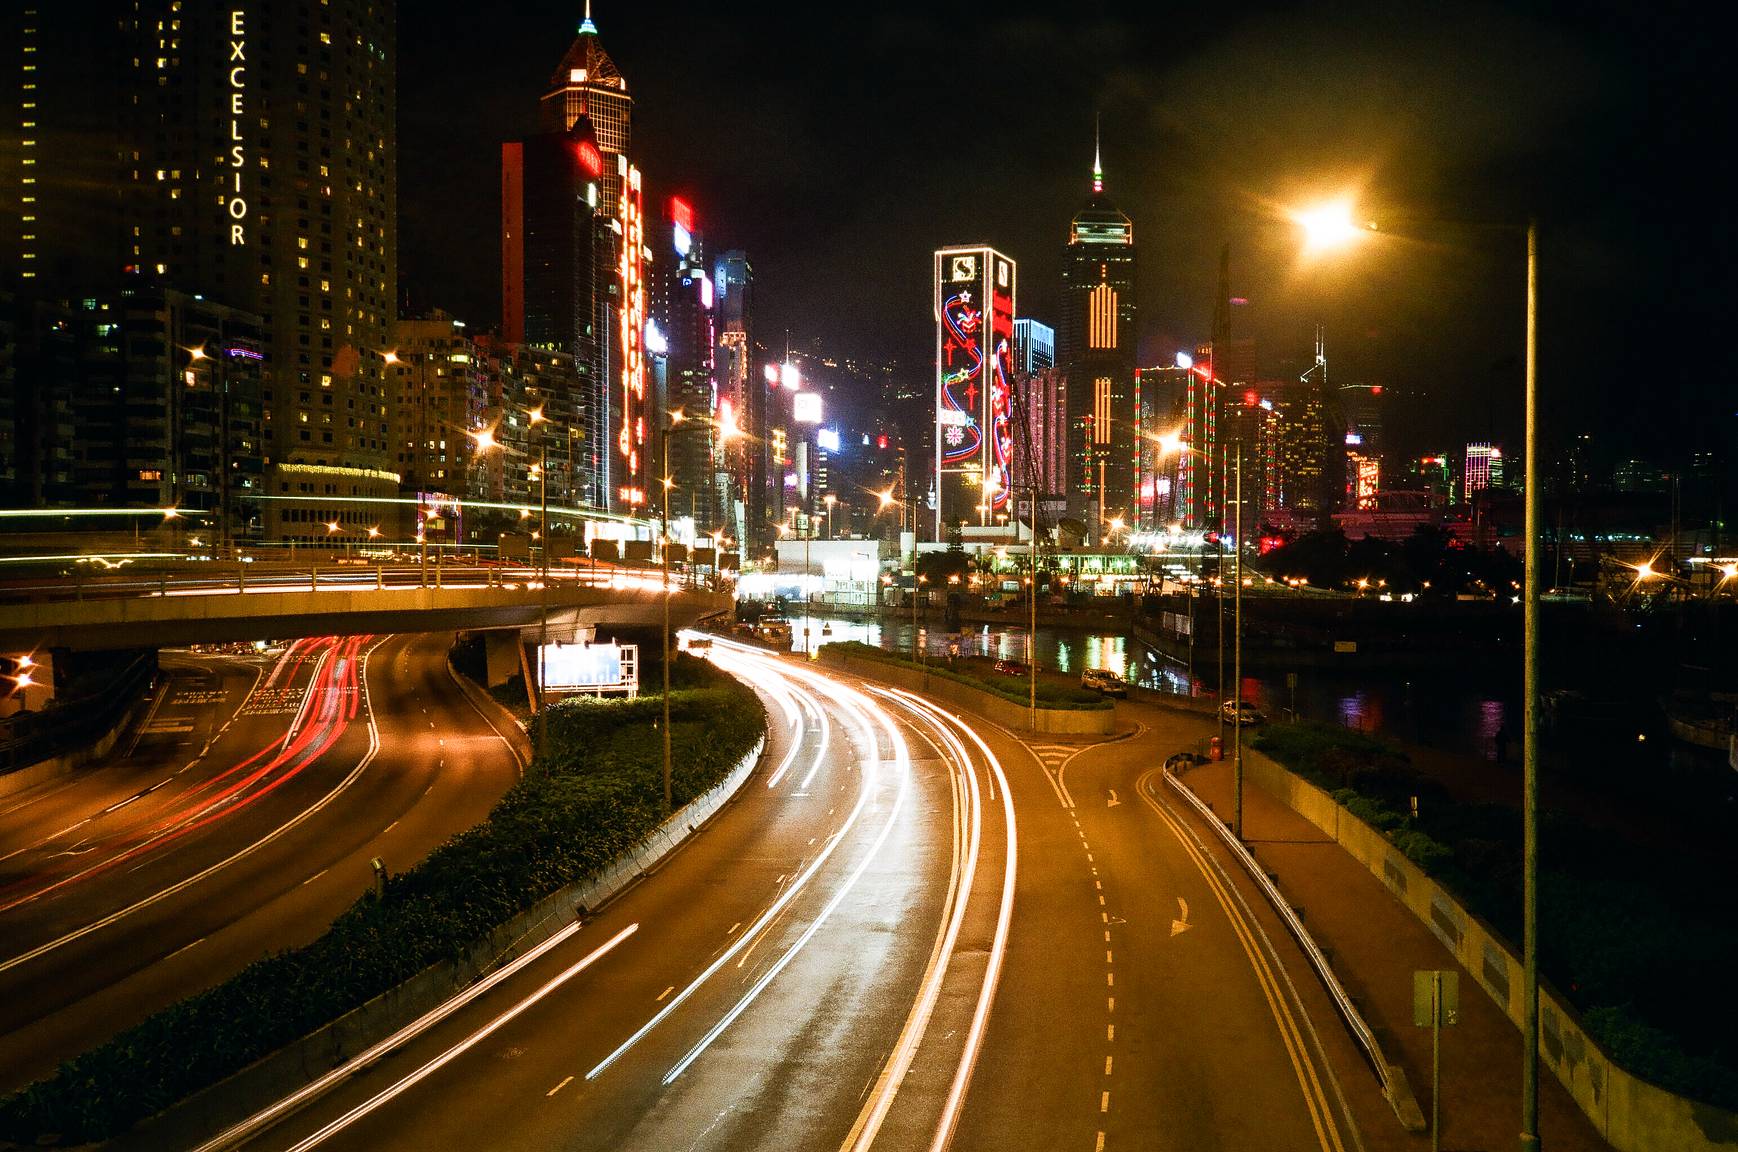
We’ve all seen them. Those photographs of dreamy beachscapes or waterfalls where the water has seemingly turned into a milky mist or the cityscapes where light trails appear to wind through busy highways where cars should be. But how is it done? What dark magic is this that photographers wield? Actually, it’s relatively simple and can even be done by us normal folk. You can even do it with your beloved Holga or Diana F+. So, want to create photos your friends would sell their granny for? Stay with me and I’ll tell you how.

I’ve always wanted to have a go at photographing light trails and since moving to Hong Kong recently with its numerous sky-walks, bridges and overpasses I figured it was a good time to do it. It’s actually fairly simple, don’t need lots of fancy equipment or expensive lenses and the results can be breathtaking.
Here’s what you’ll need:
- A manual camera or one with a ‘B’ or ‘bulb’ setting. A tripod mount is handy too but not essential. The Holga or Diana F+ is perfect.
- A tripod if you have one, but a sturdy rail or wall will do just as well.
- Your favourite film.
- Some time to make beautiful film photographs.
The Place
First, I found my location: a foot bridge over Gloucester Road which runs along the Victoria Harbour-side coast of Hong Kong Island. There was plenty of room to set up my tripod, a sturdy railing to place a camera as well (it’s a good idea to keep the strap around your neck if you plan to balance a camera on a railing over a road), plenty of fairly fast flowing, two-way traffic and only one or two drunk stragglers who’d fallen out of the junk following a tour of Victoria Harbour.
Ideally, you will need a sturdy tripod, but if you haven’t got one, fear not as alternatives are at hand. A railing, wall, or fence will all suffice as long as it’s sturdy and not likely to fall over if leant on by a drunk on his way home, and it’s safe to place your camera on it. Any movement of the camera during exposure will cause blur and trails (of the unwanted kind) so it’s important you keep your camera as steady as possible. You can even balance you camera on your Harry Potter lunch box if you want to and it’s at hand.
The Exposure
The exact exposure will depend on a number of things: How much available light you’re working with, what speed film you’ve got loaded and how prevalent you want the effect of the light trails to be. I’ve found that a shutter speed of upwards of eight seconds works for me. The light trails are long and fill the road and there are no cars visible in the photo.
In Hong Kong, over a busy road with 400 speed film and an aperture of f/16, I found that I needed around eight seconds at f/11. Remember, for every stop of light your exposure will double, so if you’re at f/16 with an exposure time of eight seconds and you want to use f/22, guess what? You’re exposure is now 16 seconds. But this also means that timing your exposure becomes less critical and is fairly easy to time using your watch. So, it’s all good really.

The Camera
Your camera will need manual shutter control or a bulb or ‘B’ setting as you’ll be using a long exposure. I took the above photos on my Mamiya C220 but you could do it just as well using a Holga or a Diana F+. Just set the aperture on your Diana to f/16 which is the partial sun setting, and keep your pinky on the shutter release for eight seconds – but keep it steady! Your main concern will be keeping that camera still when you’ve got your finger on the shutter release.
It might even be easier if you’ve got your Diana on a flat surface like a wall or flat railing because you can keep one hand pressed down on the top of the camera to steady it while the finger of your other hand presses the shutter release.
I took these with my Olympus XA, an automatic/aperture priority point and shoot which is capable of 10 second exposures using that technique. Pretty nifty for a little point and shoot!


The Film
Pretty much any film will do but do a bit of homework and choose a film that will produce results you are looking for and handles long exposures well. Some films suffer from reciprocity failure (when the relationships between the reciprocals i.e aperture, shutter speed and ISO break down), and faster film might be too grainy. It all depends what look you want. I used Fuji Superia X-tra 400 film for the shots taken with the Mamiya simply because it was already loaded but 160 ISO film like Fuji Reala or Kodak Portra will work well too and may be better since you’ll need a slower shutter speed and they’ll produce less grain too.
A few tips:
- For long exposures the word of wisdom states that you need to keep you camera as still as possible for the duration of the exposure. But, hey! This is Lomography ,right? Why not experiment? Try moving your camera half-way through the exposure to another position for some trippy double exposure-like effects.
- You can turn static lights such as street lights into a nice starburst effect by selecting a small aperture, say f/16 or f/22.
- If you happen to have chosen a footbridge as your vantage point; bare in mind that people walking across it may cause some camera-shake!
- I like to chose a clear night as it seems to really make the lights pop. Different atmospheric conditions may well cause some wacky effects though. Again, experiment and see what happens.
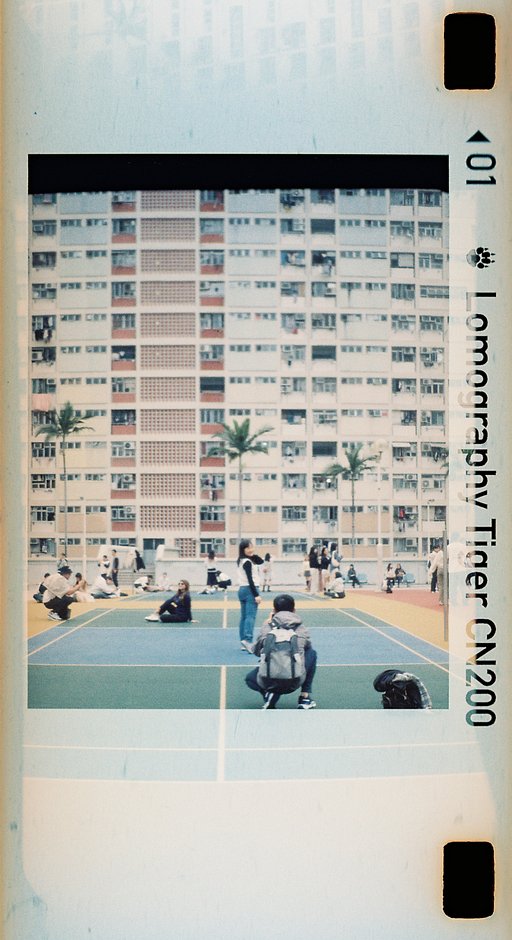
- You don’t have to limit your subject to lights. People, for example, make great long exposure subjects too, especially if there are some static objects, or even better, people for reference.
So, that’s the gist of it. All you need to do now is practice and experiment. Oh, and have fun!
written by kitschiguy on 2013-01-09 #gear #tutorials #camera #tutorial #hong-kong #olympus-xa #tipster #light-trails #mamiya #lomography #long-exposures #holga #diana #select-type-of-tipster #select-what-this-tipster-is-about


9 Comments